 Feedback Bubble
Published 5 October 2026 · By Jonathan Jones
How to Install a Feedback Widget Without a Developer
Learn how to add a feedback widget to a live SaaS website with one script, including the steps for HTML, Next.js, React and WordPress.
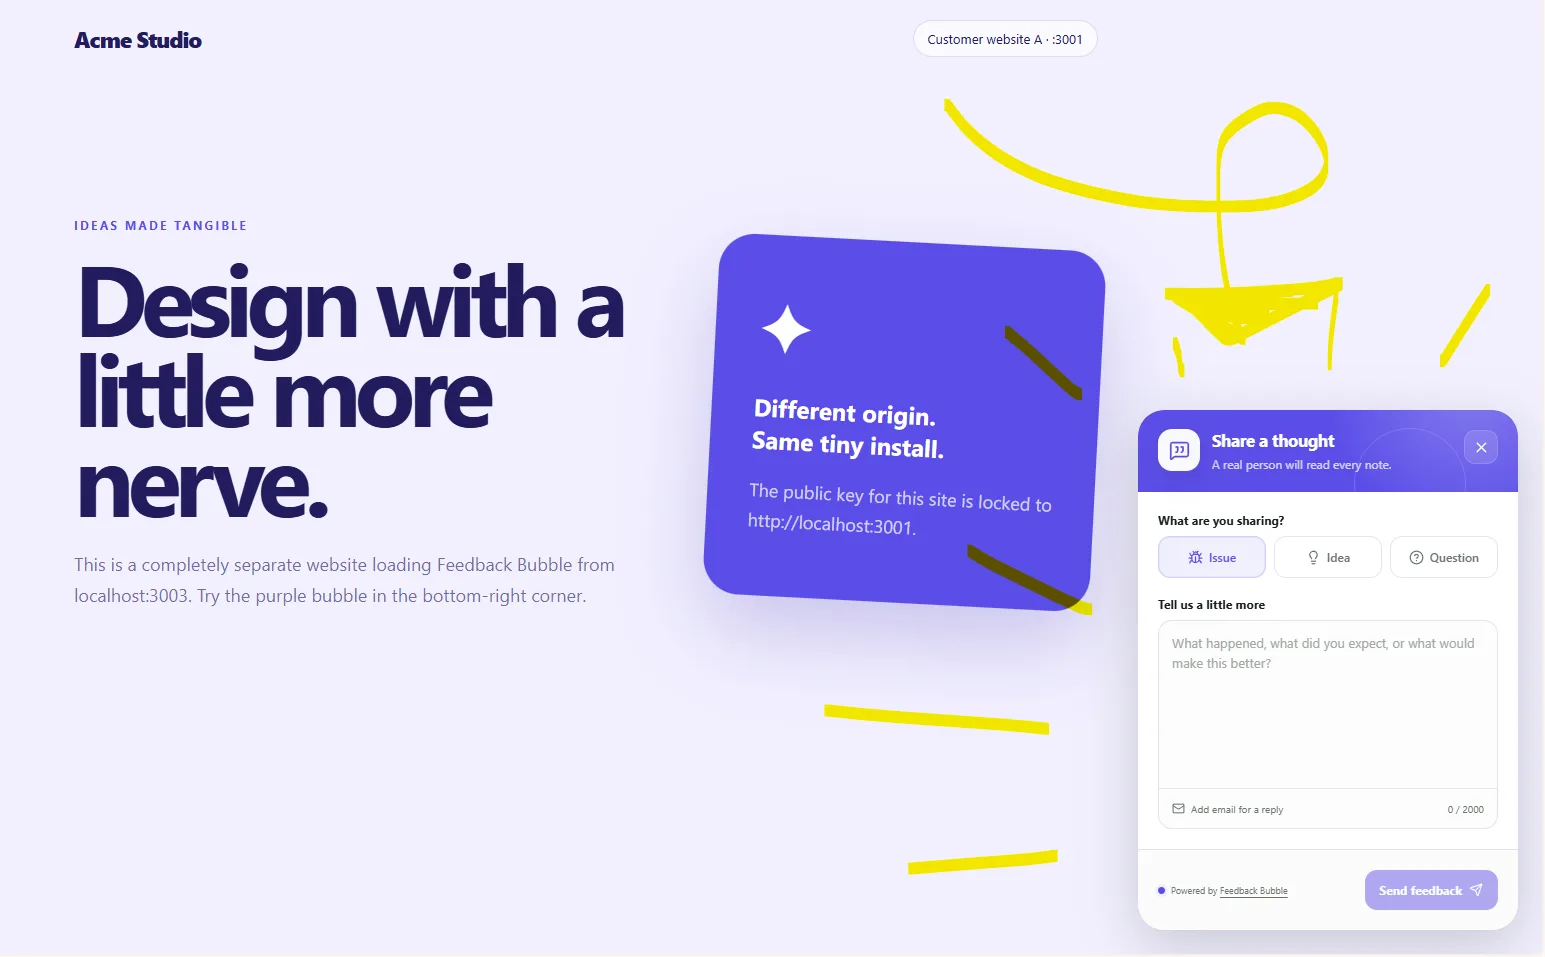
You can add a feedback widget to a live website with minimal engineering work by pasting its installation script into the site’s shared HTML, app layout or footer. Feedback Bubble provides one generated script for each bubble, with installation instructions for HTML, Next.js, React and WordPress. You still need access to your site’s code or an appropriate WordPress footer tool, so this is a small code change, not a no-code installation.
Before you install the script
First, decide which website should show the widget and make sure you can edit its shared page template or deployment source. In Feedback Bubble, create a bubble from Dashboard > Bubbles > New bubble. Enter an internal name and the full website origin where it is allowed to load, such as https://www.example.com. The approved website is a security restriction: requests from an unapproved origin are rejected.
Once the bubble is ready, choose Install from Dashboard > Bubbles. The installation window provides the generated code and separate instructions for each supported path. Copy the code from your own dashboard; do not reuse a script from another website, since it identifies a different bubble.
Install it in HTML
For a conventional website, find the shared HTML template that contains the closing </body> tag. Paste the generated script immediately before that tag, then save and deploy the change. If your pages use a shared layout or template, adding the script there makes it available across the pages that use that template.
Choose the right path for your framework
For Next.js, Feedback Bubble’s instructions use the root app/layout.tsx file. Import Script from next/script, then add the generated Script component inside <body>, after the page content. If your project uses a different router or directory structure, check the matching instructions in your dashboard before editing. Next.js also documents using next/script in layouts for site-wide scripts.Next.js script guidance
For React projects created with Vite or Create React App, open the project’s root index.html and paste the generated script immediately before </body>. This is a change to the HTML entry point, not a component you need to add to every page. If your project uses a different setup, confirm where its shared HTML is generated before proceeding.React’s guidance for adding React to an existing project
For WordPress, add the generated script in your theme’s footer-scripts area or through a trusted header-and-footer code plugin. You need access to one of those tools; the widget does not install itself from the Feedback Bubble dashboard.
Check the widget on your live site
After deployment, open the approved website and check that the launcher appears in the selected bottom corner. Open it, try each enabled feedback type, and confirm that a test message reaches the correct workspace inbox. Also check the page on mobile and any key routes where you want the widget available. If it does not appear, verify that the script is present on the page and that the page’s origin matches the approved website address.
Feedback Bubble checks the embedding website before returning the widget configuration or accepting a submission. The public site key in the generated script identifies the bubble, but it is not a secret. Avoid changing the approved origin casually: a mismatch can prevent the widget from loading.
Change the design without reinstalling
Once installed, the script requests the current bubble configuration. You can adjust settings such as colour, wording, position, icon and enabled feedback types in the bubble editor; those changes use the existing site key, so you do not normally need to paste a replacement script. To edit an existing bubble, go to Dashboard > Bubbles and select Customise.
Keep the change small and reversible
Use the shared layout or footer rather than adding the script separately to individual pages. Make the change on a branch or through your usual deployment process, and check the live result after it ships. If you cannot edit the site source or use a suitable WordPress footer tool, ask whoever manages the site to add the snippet. The installation is brief, but it still needs someone with the right access.
For the full product-specific steps, see the Feedback Bubble installation guide and follow the tab that matches your site.