 Feedback Bubble
Published 31 October 2026 · By Jonathan Jones
SaaS Feedback Widget Installation Checklist for Indie Developers
Check the approved website origin, script placement, bubble status and visitor journey before launching a feedback widget. Then send a test message and confirm it reaches your inbox with page context.

Widget Launch Checklist
Before you launch a SaaS feedback widget, check that its approved website origin matches the site you are testing, install the generated script in the right place for your platform, and confirm the bubble and subscription are active. Then submit a test message from a page where the widget should appear and make sure it reaches your inbox with the correct page context.
A short manual check catches common setup gaps: a script added to the wrong template, an unapproved staging address, a disabled feedback type, or a submission that never reaches the dashboard. Use this checklist before you share the widget with customers.
Before installation: check the website and bubble
Confirm the approved website origin. Check the full address visitors use, including the protocol and hostname. For example, https://www.example.com and https://app.example.com are different origins. If you plan to test on staging, first confirm that the staging origin is allowed for that bubble. Do not assume a staging domain will work simply because the production site is approved.
Check the bubble and subscription status. In Dashboard > Bubbles, confirm the right bubble is active. Then check Dashboard > Billing to confirm the subscription is active. A paused bubble or inactive subscription can prevent the widget from loading.
Review the feedback types and reply option. Decide which visitor choices you will accept: Issue, Idea and Question can each be enabled or disabled. If you want visitors to request a reply, turn on Allow reply requests. An email address should remain optional for ordinary submissions.
Check your plan limits. Before launch, review the live pricing page for the current submission allowance and feedback-history period. These details can change, so use the live page rather than relying on an old setup note.
Install the script in the right place
Open Dashboard > Bubbles and select Install for the bubble you intend to use. Copy its generated code and follow the instructions for your platform. Add it to a shared layout or template if the widget should appear across multiple pages. The installation guide and the dashboard’s generated instructions are the best places to confirm current placement details.
For a shared HTML template, add the script immediately before the closing </body> tag.
For React with Vite or Create React App, use the project’s root index.html and add the script before </body>.
For Next.js, follow the generated instructions for the root app/layout.tsx file and place the Script component inside <body>, after the page content.
For WordPress, use the theme’s footer-scripts area or a trusted code-injection plugin.
Check that the code contains the site key for the correct bubble. The key identifies the bubble, so copying another site’s code can send you down the wrong troubleshooting path. Keep a note of which bubble and origin you installed while testing.
After installation: test the visitor journey
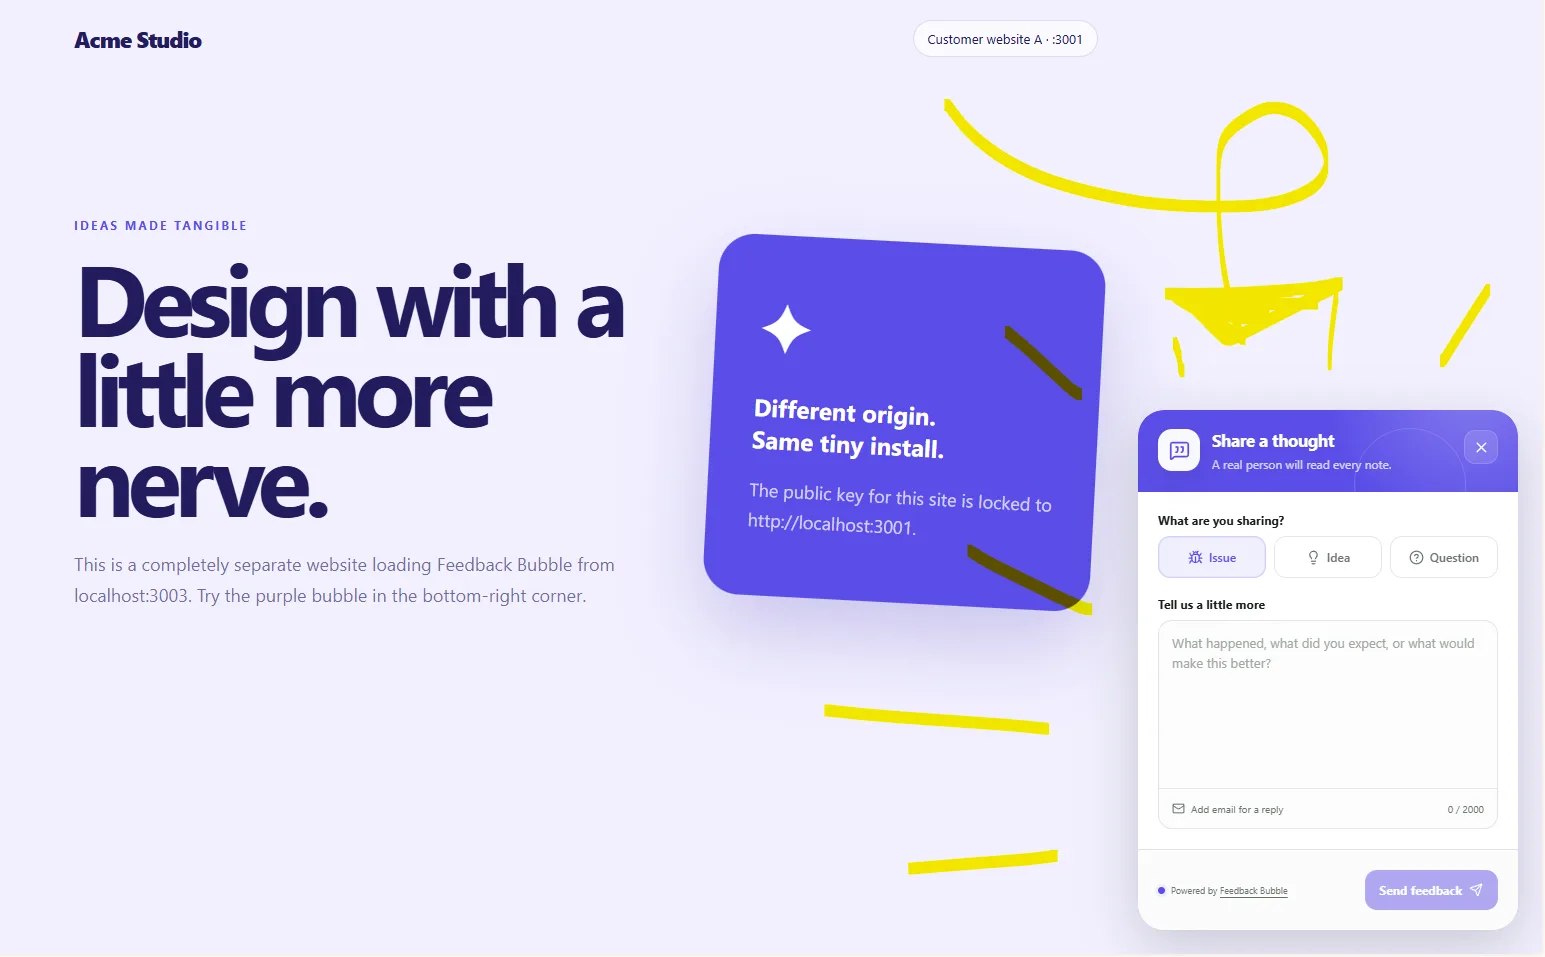
Test the real page, not only the editor preview. If you are using staging, verify that the exact staging origin is accepted; otherwise, run the check on the approved site. A small test submission helps confirm that both the widget and the inbox are working together.
Load a page where the widget should appear. Confirm the launcher is visible and does not cover a navigation item, support control or key action. Open it and check that the form is readable on desktop and mobile.
Select every enabled type in turn: Issue, Idea and Question. Send a short test message for each type you offer. This confirms the choices shown to visitors match the settings you intended to save.
If Allow reply requests is on, make one test submission that requests a reply and includes a test email address you control. Confirm the request and address appear with the message. Also confirm that an ordinary submission can be sent without an email address.
Submit a message from a known page, then open Dashboard > Inbox > Needs review. Check that the message appears and that its page title, path or URL match where you sent it. Review the received time and available device context as well.
Remove or archive your test messages after checking them so they are not mistaken for customer feedback during your first review.
What a test submission can and cannot confirm
A successful test confirms that a visitor can open the widget, send the chosen type of message and see the success state, and that the message arrives in the inbox with page context. It does not show whether your form wording will prompt useful feedback from customers, or whether the widget is placed well on every page and device. Check the pages and layouts that matter to your product rather than assuming one successful test covers every template.
Page and device context can reduce follow-up questions, but it does not replace a clear message from the visitor. A feedback widget also does not record sessions or capture screenshots, so make sure the form asks for enough detail to understand the report.
Keep the script after design changes
After installation, you can adjust the bubble’s colour, wording, position, icon and enabled feedback types in the editor. Save the changes and check the live page again. These settings use the existing site key, so ordinary appearance and wording changes do not normally require you to paste the script again.
A launch checklist you can keep
The approved website origin matches the site being tested.
The correct bubble is active and the subscription is active.
The generated script is installed in the right shared template or framework location.
Every enabled feedback type and the optional reply-request path have been tested.
A test submission appears in Needs review with the expected page context.
Current plan limits have been checked, and test messages have been cleared or archived.
For the final pre-launch check, follow the current installation instructions and send one test submission from the site origin your bubble is approved to use.